Step 1
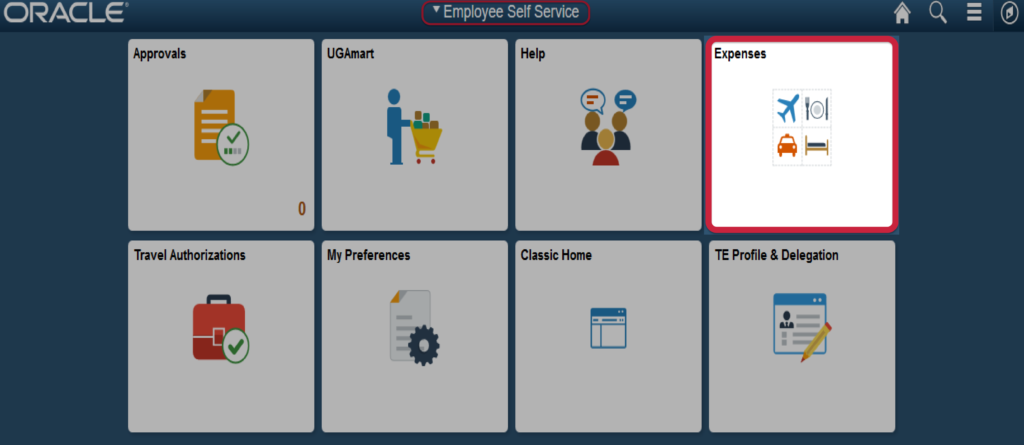
Log into financials.onesource.uga.edu using your UGA MyID, password, and arch pass duo pass code/call/push notification. If you are accessing the website off campus you will also need to have a Cisco any any-connect VPN installed on your computer. Once logged in, make sure the screen says “Employee Self Service” at the top, then click “Expenses.”
Step 2
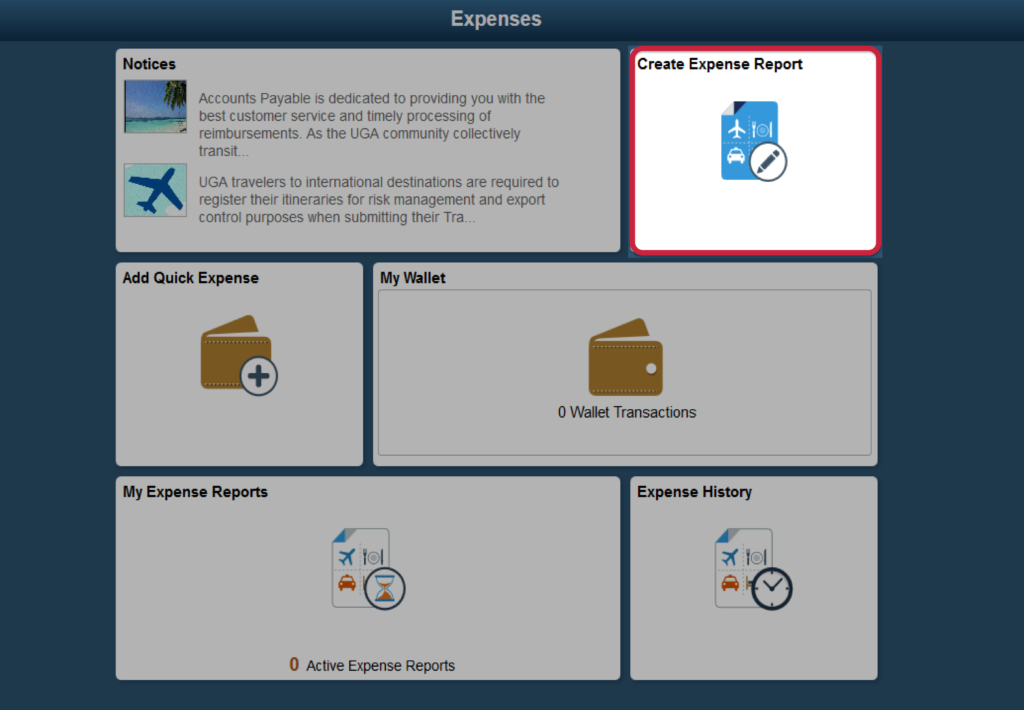
On the next screen click on “Create Expense Report.”
Step 3
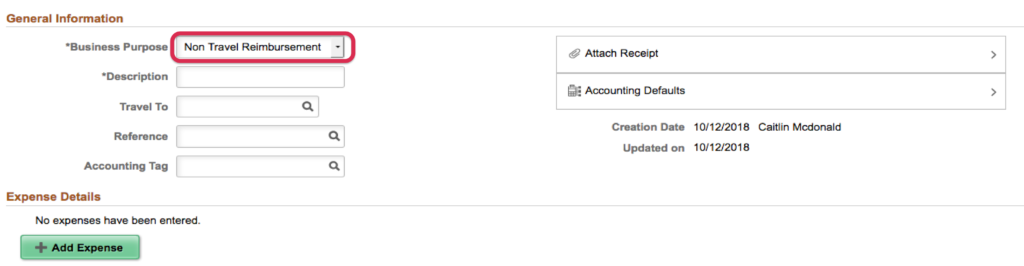
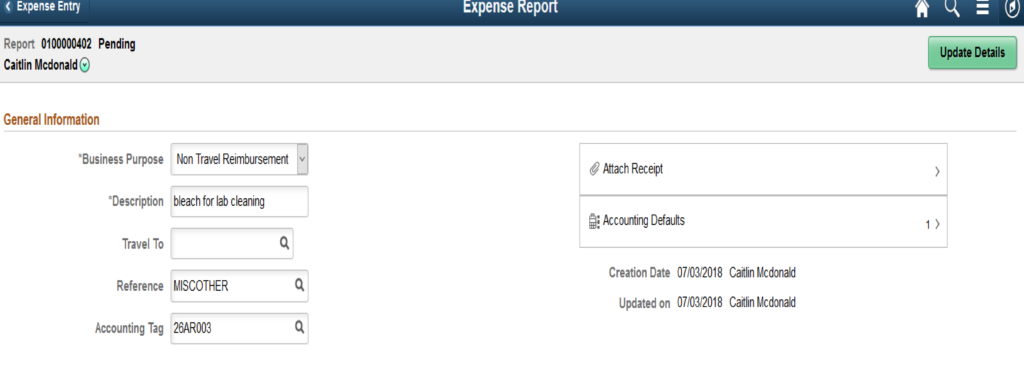
Your next screen should look like this, and is where you fill in the General Information about your purchase(s).
Be sure you have scanned and saved your receipts to your desktop or other accessible file. Keep these on hand until your reimbursement is fully processed.
- “Business purpose”: should show “Non Travel Reimbursement.”
- “Description”: should include what the reimbursement is for, including your speedtype .
- e.g. “supplies for leaf experiment, 26XX000” or “bleach for lab cleaning, 26XX000.”
- “Travel To“: should not have anything entered. Ignore since this is not travel-related.
- “Reference“: select the option that most accurately reflects your reimbursement.
- Commonly used ones will be “Grant Research”, “Supplies”, and “Other Research.”
- “Accounting Tag”: same as speed type
- “Attach Receipt“: follow prompts to upload your receipt(s)
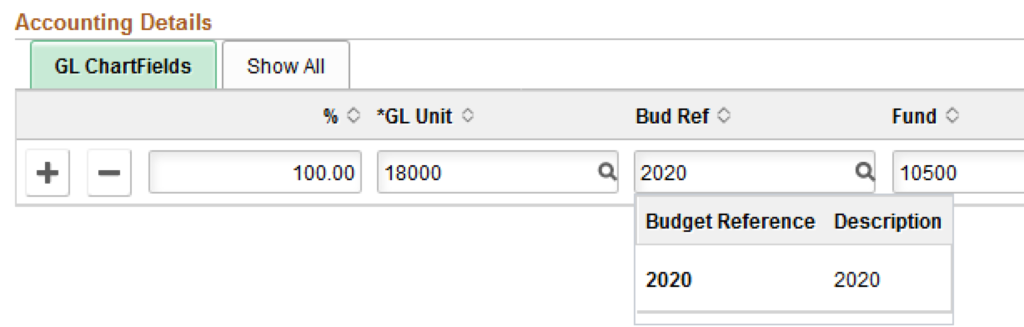
“Accounting Defaults“: Your chart string should have auto-filled when you entered your accounting tag, except for the budget reference. You must enter the budget reference or your request will be rejected. It should match the current fiscal year we are operating in (e.g., 2020, 2021, 2022, etc.). If you are unsure please email Laura Leachman. After entering the date click “Done” to return to the general information screen.